Easily configure your account preferences by navigating to the Settings page. To access it, click the Settings button or the cog-icon located in the top-right corner of your screen.

On the Settings page, you’ll find two primary configuration categories:
This section provides essential options to help you set up and get started quickly.

Configure your account details, such as your organization name and contact information.
Set up your brand sets, including logo, brand name, and preferences for consistent branding across communications.
Connect your organization's Stripe account to enable credit card payment processing.
Select the bank account where customer payments will be automatically allocated.
Configure default payment stages for splitting invoices into manageable payments.
Enable card payment promotions to encourage customers to pay via credit or debit cards.
Define card processing fees to include in your invoices for customer card payments.
Execute system jobs, such as syncing data across the platform, to keep everything up-to-date.
This section includes additional setup options to enable Stagepay’s full range of features, optimizing your workflow and streamlining payment collection.
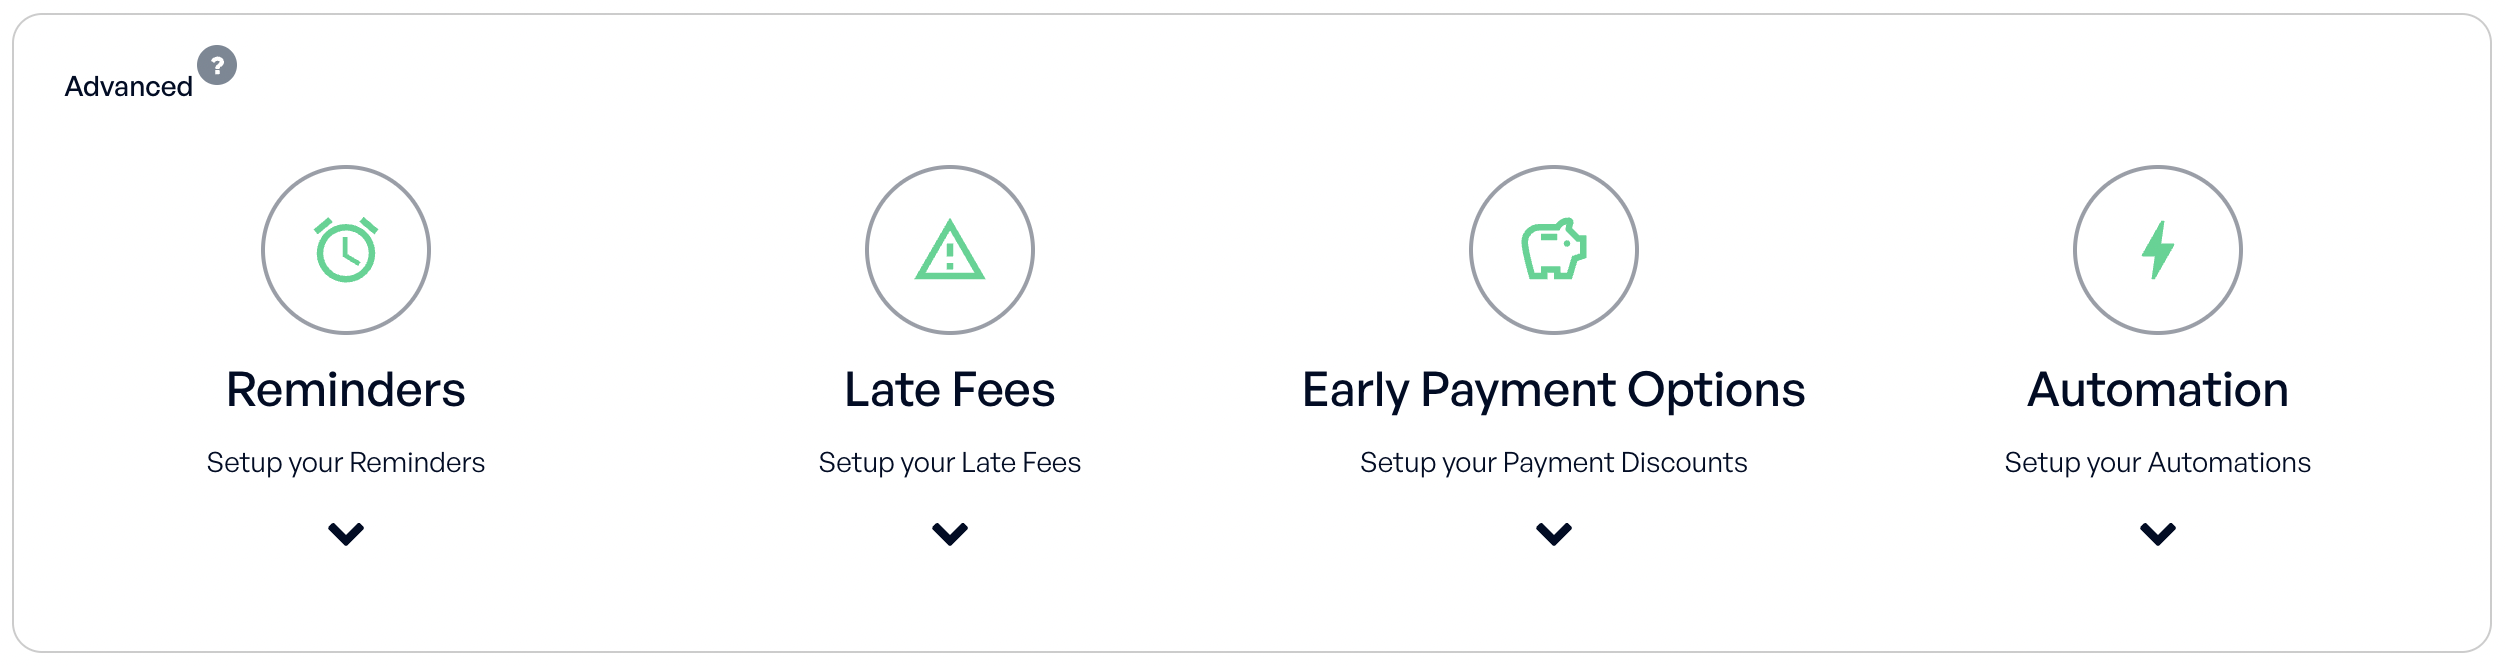
Set up automated reminders to notify customers of upcoming or overdue payments.
Configure penalties for overdue payments to encourage timely payments.
Set up discounts for customers who pay invoices early, incentivizing faster payments.
Define automated workflows to streamline recurring tasks, such as sending reminders or generating reports.
By fully configuring both Basic and Advanced Settings, you can optimize Stagepay for your business needs, enabling a smooth workflow and ensuring faster payment collection.